Azure Powershell – How to Build and Deploy Azure IaaS VMs

Throughout my career, my primary role has always been to make things more efficient and automated.  And now more than ever, automation is needed to manage and deploy IT services at scale to support our ever-changing needs.

In my opinion, one of the most convenient aspects of public cloud-based services is the ability to host virtual machines (VMs). Hosting VMs in the cloud doesn’t just mean putting your VMs in someone else’s datacenter. It’s a way to achieve a scalable, low-cost and resilient infrastructure in a matter of minutes.

What once required hardware purchases, layers of management approval and weeks of work now can be done with no hardware and in a fraction of the time. We still probably have those management layers though 🙁

Microsoft Azure is in the lead pack along with Google (GCP) and Amazon (AWS). Azure has made great strides over the past few years on in its Infrastructure as a Service (IaaS) service which allows you to host VMs in their cloud.

Azure provides a few different ways to build and deploy VMs in Azure.

  • You could choose to use the Azure portal, build VMs through Azure Resource Manager(ARM) templates and some PowerShell
  • Or you could simply use a set of PowerShell cmdlets to provision a VM and all its components from scratch.

Each has its advantages and drawbacks. However, the main reason to use PowerShell is for automation tasks. If you’re working on automated VM provisioning for various purposes, PowerShell is the way to go 😉
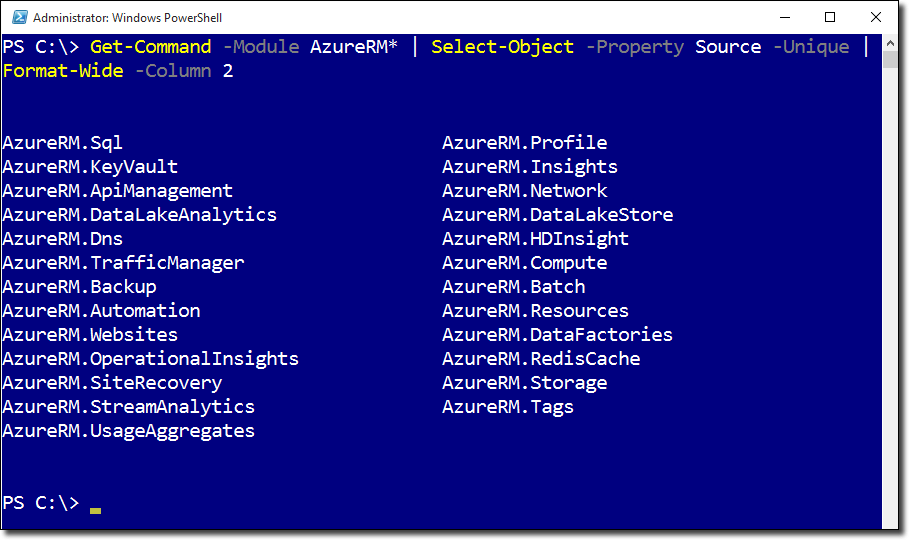
Let’s look at how we can use PowerShell to build all of the various components that a particular VM requires in Azure to eventually come up with a fully-functioning Azure VM.

To get started, you’ll first obviously need an Azure subscription. If you don’t, you can sign up for a free trial to start playing around. Once you have a subscription, I’m also going to be assuming you’re using at least Windows 10 with PowerShell version 6. Even though the commands I’ll be showing you might work fine on older versions of PowerShell, it’s always a good idea to work alongside me with the same version, if possible.

You’ll also need to have the Azure PowerShell module installed. This module contains hundreds of various cmdlets and sub-modules. The one we’ll be focusing on is called Azure.RM. This contains all of the cmdlets we’ll need to provision a VM in Azure.

Building a VM in Azure isn’t quite as simple as New-AzureVM; far from it actually. Granted, you might already have much of the underlying infrastructure required for a VM, but how do you build it out, I’ll be going over how to build every component necessary and will be assuming you’re beginning to work from a blank Azure subscription.

At its most basic, an ARM VM requires eight individual components

  1. A resource group
  2. A virtual network (VNET)
  3. A storage account
  4. A network interface with private IP on VNET
  5. A public IP address (if you need to access it from the Internet)
  6. An operating system
  7. An operating system disk
  8. The VM itself (compute)

In order to build any components between numbers 2 and 7, they must all reside in a resource group so we’ll need to build this first. We can then use it to place all the other components in. To create a resource group, we’ll use the New-AzureRmResourceGroup cmdlet. You can see below that I’m creating a resource group called NetWatchRG and placing it in the East US datacenter.

New-AzureRmResourceGroup -Name 'NetWatchRG' -Location 'East US'

Next, I’ll build the networking that is required for our VM. This requires both creating a virtual subnet and adding that to a virtual network. I’ll first build the subnet where I’ll assign my VM an IP address dynamically in the 10.0.1.0/24 network when it gets built.

$newSubnetParams = @{
'Name' = 'NetWatchSubnet'
'AddressPrefix' = '10.0.1.0/24'
}
$subnet = New-AzureRmVirtualNetworkSubnetConfig @newSubnetParams

Next, I’ll create my virtual network and place it in the resource group I just built. You’ll notice that the subnet’s network is a slice of the virtual network (my virtual network is a /16 while my subnet is a /24). This allows me to segment out my VMs

$newVNetParams = @{
'Name' = 'NetWatchNetwork'
'ResourceGroupName' = 'MyResourceGroup'
'Location' = 'West US'
'AddressPrefix' = '10.0.0.0/16'
'Subnet' = $subnet
}
$vNet = New-AzureRmVirtualNetwork @newVNetParams

Next, we’ll need somewhere to store the VM so we’ll need to build a storage account. You can see below that I’m building a storage account called NetWatchSA.

$newStorageAcctParams = @{
'Name' = 'NetWatchSA'
'ResourceGroupName' = 'NetWatchRG'
'Type' = 'Standard_LRS'
'Location' = 'East US'
}
$storageAccount = New-AzureRmStorageAccount @newStorageAcctParams

Once the storage account is built, I’ll now focus on building the public IP address. This is not required but if you’re just testing things out now it’s probably easiest to simply access your VM over the Internet rather than having to worry about setting up a VPN.

Here I’m calling it NetWatchPublicIP and I’m ensuring that it’s dynamic since I don’t care what the public IP address is. I’m using many of the same parameters as the other objects as well.

$newPublicIpParams = @{'Name' = 'NetWatchPublicIP''ResourceGroupName' = 'NetWatchRG''AllocationMethod' = 'Dynamic' ## Dynamic or Static'DomainNameLabel' = 'NETWATCHVM1''Location' = 'East US'}$publicIp = New-AzureRmPublicIpAddress @newPublicIpParams
Once the public IP address is created, I then need somehow to get connected to my virtual network and ultimately the Internet. I’ll create a network interface again using the same resource group and location again. You can also see how I’m slowly building all of the objects I need as I go along. Here I’m specifying the subnet ID I created earlier and the public IP address I just created. Each step requires objects from the previous steps.
$newVNicParams = @{
'Name' = 'NetWatchNic1'
'ResourceGroupName' = 'NetWatchRG'
'Location' = 'East US'
'SubnetId' = $vNet.Subnets[0].Id
'PublicIpAddressId' = $publicIp.Id
}
$vNic = New-AzureRmNetworkInterface @newVNicParams
Once we’ve got the underlying infrastructure defined, it’s now time to build the VM.
First, you’ll need to define the performance of the VM. Here I’m choosing the lowest performance option (and the cheapest) with a Standard A3. This is great for testing but might not be enough performance for your production environment.
$newConfigParams = @{
'VMName' = 'NETWATCHVM1'
'VMSize' = 'Standard_A3'
}
$vmConfig = New-AzureRmVMConfig @newConfigParams
Next, we need to create the OS itself. Here I’m specifying that I need a Windows VM, the name it will be, the password for the local administrator account and a couple of other Azure-specific parameters. However, by default, an Azure VM agent is installed anyway but does not automatically update itself. You don’t explicitly need a VM agent but it will come in handy if you begin to need more advanced automation capabilities down the road.
$newVmOsParams = @{
'Windows' = $true
'ComputerName' = 'NETWATCHVM1'
'Credential' = (Get-Credential -Message 'Type the name and password of the local administrator account.')
'ProvisionVMAgent' = $true
'EnableAutoUpdate' = $true
}
$vm = Set-AzureRmVMOperatingSystem @newVmOsParams -VM $vmConfig
Next, we need to pick what image our OS will come from. Here I’m picking Windows Server 2016 Datacenter with the latest patches. This will pick an image from the Azure image gallery to be used for our VM.
$newSourceImageParams = @{
'PublisherName' = 'MicrosoftWindowsServer'
'Version' = 'latest'
'Skus' = '2016-Datacenter'
'VM' = $vm
}$offer = Get-AzureRmVMImageOffer -Location 'East US' -PublisherName 'MicrosoftWindowsServer'
$vm = Set-AzureRmVMSourceImage @newSourceImageParams -Offer $offer.Offer
Next, we’ll attach the NIC we’ve built earlier to the VM and specify the NIC ID on the VM that we’d like to add it as in case we need to add more NICs later.
$vm = Add-AzureRmVMNetworkInterface -VM $vm -Id $vNic.Id
At this point, Azure still doesn’t know how you’d like the disk configuration on your VM. To define where the operating system will be stored, you’ll need to create an OS disk. The OS disk is a VHD that’s stored in your storage account. Here I’m putting the VHD in a VHDs storage container (folder) in Azure. This step gets a little convoluted since we must specify the VhdUri. This is the URI to the storage account we created earlier.
$osDiskUri = $storageAcct.PrimaryEndpoints.Blob.ToString() + "vhds/" + $vmName + $osDiskName + ".vhd"

$newOsDiskParams = @{
'Name' = 'OSDisk'
'CreateOption' = 'fromImage'
'VM' = $vm
'VhdUri' = $osDiskUri
}

$vm = Set-AzureRmVMOSDisk @newOsDiskParams
Ok, Whew! We now have all the components required to finally bring up our VM. To build the actual VM, we’ll use the New-AzureRmVM cmdlet. Since we’ve already done all of the hard work ahead of time, at this point, I simply need to pass the resource group name, the location, and the VM object which contains all of the configurations we just applied to it.
$newVmParams = @{
'ResourceGroupName' = 'NetWatchRG'
'Location' = 'East US'
'VM' = $vm
}
New-AzureRmVM @newVmParams

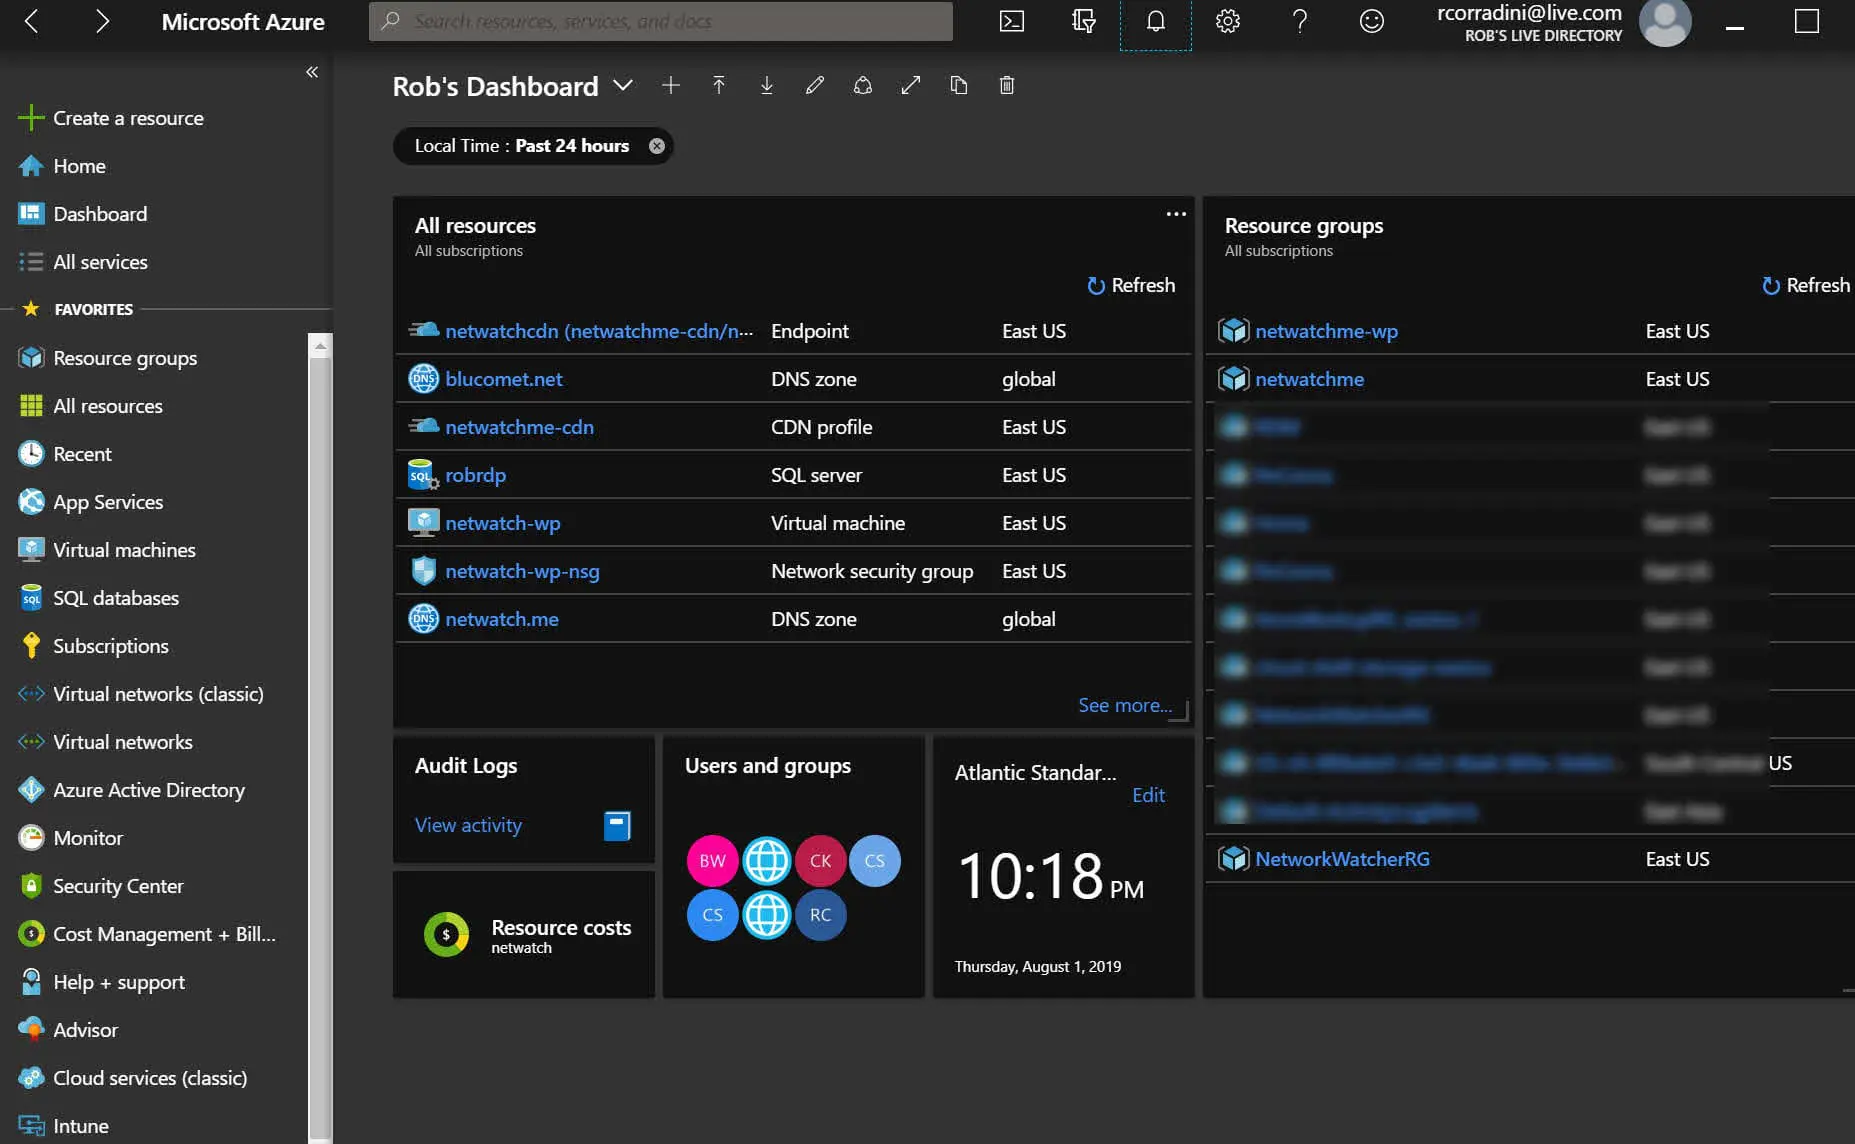
Your VM should now be showing up under the Virtual Machines section in the Azure portal. If you’d like to check on the VM from PowerShell you can also use the Get-AzureRmVM cmdlet.

Now that you’ve got all the basic code required to build a VM in Azure, I suggest you go and build a PowerShell script from this tutorial. Once you’re able to bring this code together into a script, building your second, third or tenth VM will be a breeze!

One final tip, in addition to managing Azure Portal through a browser, there are mobile apps for IOS and Android and now the new Azure portal app (Currently in Preview).  It gives you the same experience as the Azure Portal, without the need of a browser, like Microsoft Edge or Google Chrome.  Great for environments that have restrictions on browsing.
Until next time, Rob…

Azure Active Directory, Active Directory Domain Services – What’s the difference?

Here is a subject I hear and get asked over and over again.  Is Azure Active Directory (AAD) the same as Active Directory Domain Services (AD DS).

Let me be very clear.  Azure Active Directory is NOT a cloud version of Active Directory Domain Services, and in fact, it bears minimal resemblance to its on-premises names at all.

The number one question I get asked: “How do I join my servers to Azure AD?”. IT admins expect (not unexpectedly) to be able to use Azure AD just like they have always used Active Directory Domain Services. So let’s compare AD DS (and particularly the domain services part of AD DS) to AAD.  Let me educate you 🙂

What is Active Directory?

Most of us have probably worked with it for years, and now you’re looking to move to the cloud and understand what AAD is. Let’s start with a recap of what AD DS is. 

Active Directory Domain Services was introduced as a hierarchical authentication and authorization database system to replace the flat file Domain system in use on NT4 and previous servers.

The NT4 domain model in 2000 was straining at the seams to keep up with evolving corporate structures, hampered by some quite severe limitations – maximum of 26,000 objects in a flat file “bucket”, only 5 kinds of fixed objects whose structure (properties etc.) could not be changed, maximum size of the database of 40Mb etc. NT4 Domains also primarily used NetBIOS (another flat file, Microsoft specific system) for its name resolution.

For a lot of larger organizations, this necessitated multiple domain databases with very limited and complicated interactions between those domains. Active Directory Domain Services (just called Active Directory in those days) was released with Windows Server 2000 and was based upon the X.500 hierarchical network standard that companies such as Novel’s NDS and Banyan Vines were using at the time.

AD DS also used DNS as its name resolution system and the TCP/IP communication protocols in use on the internet. It brought in the idea of a directory system which contained a “schema” database (the set of “rules” that define the properties or attributes of objects created in the “domain” database) which could be added to or “extended” to create either entirely new objects or new properties of existing objects.

Size limitations were also thrown out the window, with Microsoft creating directory systems in the billions of objects (given enough storage!) in their test labs.

Here is a list of the essential functions that make up AD DS:

  • Secure Object store, including Users, Computers and Groups
  • Object organization use OU’s, Domains and Forests
  • Common Authentication and Authorization provider
  • LDAP, NTLM, Kerberos
  • Group Policy
  • Customizable Schema

Along with Domain Services, there are also components like Certificate Services, Federation Services, and Privileged Access Management.

From its inception, AD DS quickly became the defacto directory system in most organizations, even today.

What is Azure Active Directory

So if you know what Active Directory Domain Services is, then how does this compare to Azure Active Directory? The answer to this is, not very closely. The decision to name AAD after AD, in my opinion, was more of a marketing decision than a technical one. This has lead to years of confusion. In many ways, AAD was designed for a world where PaaS and SaaS services were the default choice, not for IaaS in the cloud.

Azure Active Directory is a secure authentication store, which can contain users and groups, but that is about where the similarities end. AAD is a cloud-based identity management store for modern applications. AAD is designed to allow you to create users, groups, and applications that work with modern authentication mechanisms like SAML and OAuth.

Applications are an object that exists in AAD but not in AD DS. Applications allow you to create an identity for your applications that you can grant access for users to, and to allow you to grant your users access to applications owned by others.

What AAD does not provide is any AD DS service beyond user management.

  • You can’t join computers to an Azure AD domain in the way you would with AD DS. There is something called Azure AD Join, but this is a different animal that I’ll address below. This means there are no computer objects in your AAD to apply things like GPOs to, and no centralized control of user rights on those machines.
  • There is no Group Policy. AAD has some policy tools like conditional access, but it is more focused on access to applications.
  • No support for LDAP, directory queries all use the REST API, Graph or PowerShell/CLI
  • There’s no support for NTLM or Kerberos. AAD is modern authentication protocols only
  • There’s no schema you have access to or can modify
  • Flat structure, no OU’s, Domains or Forests

So, at this point, it’s obvious now that Azure AD is a very different thing to AD DS. AAD is for user, group and application management in the cloud. If your building all new services using PaaS or SaaS and using modern authentication protocols then you should be all set with AAD, it’s what it was designed for.

However, if your running IaaS in Azure and want AD DS to domain join machines and create GPO’s, then AAD won’t cut it for you (and that is by design).

Active Directory on Azure

Hopefully, now it’s clear what AAD is and isn’t, and if your building modern apps and AAD does what you need, then you can stop here.

However, if you are going down the IaaS route in Azure and you feel you still need the services of an AD domain, what alternatives are there?

Azure AD Join

I mentioned this briefly earlier; it is possible to join devices directly to Azure AD. AAD Join is limited to Windows 10 machines only and provides limited functionality, certainly nothing like a full AD join.

When Azure AD joined, it is then possible to login to machines using Azure AD user accounts. You can apply conditional access policies that require machines to be AAD joined before accessing resources or applications. If you’re looking for a way to provide common user account management across Windows 10 machines, then this may work for you.

Azure AD Domain Services

If you need more than just user management, then it is possible to extend Azure AD to offer more AD based services using Azure AD Domain Services. AAD DS is an Azure product that you enable on your virtual network which deploys two domain controllers. They are managed by Microsoft and synchronized with your Azure AD tenant. This allows admins to grant machine access to users in your AAD tenant, but also to implement things like custom OU’s, group policy, LDAP queries, NTLM and Kerberos.

This is a domain managed by Microsoft, so you do not have to worry about patching your domain controllers or ensuring they are up. However, it also means you do not have full control of the domain. For example, you do not have domain admin rights, only enough rights to undertake the tasks Microsoft allows. You can see a full breakdown of AAD DS limitations here.

AD Domain Controllers on Azure

Nothing is stopping you just deploying some virtual machines in Azure and turning them into domain controllers. This is a support configuration and is in use by many people who need the full suite of services provided by AD inside Azure.

The downside to this approach is that you need to manage this yourself. You need to take care of patching and updating your servers, backing up your domain and any other maintenance you require. You are also in charge of making sure it is highly available and implementing a DR strategy if you require it. If you need all that AD DS has to offer then, this can be a great option, but if all you want is a common user store for machine login, it might be overkill.

Access your On-Premises AD Domain

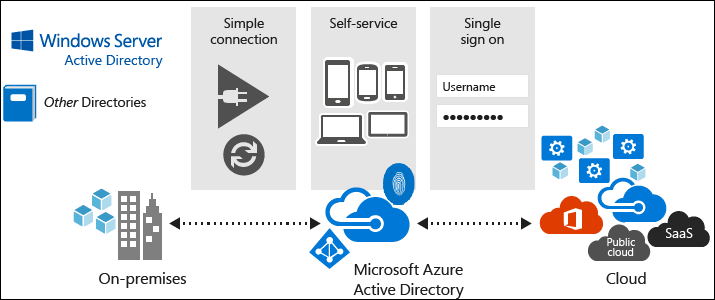
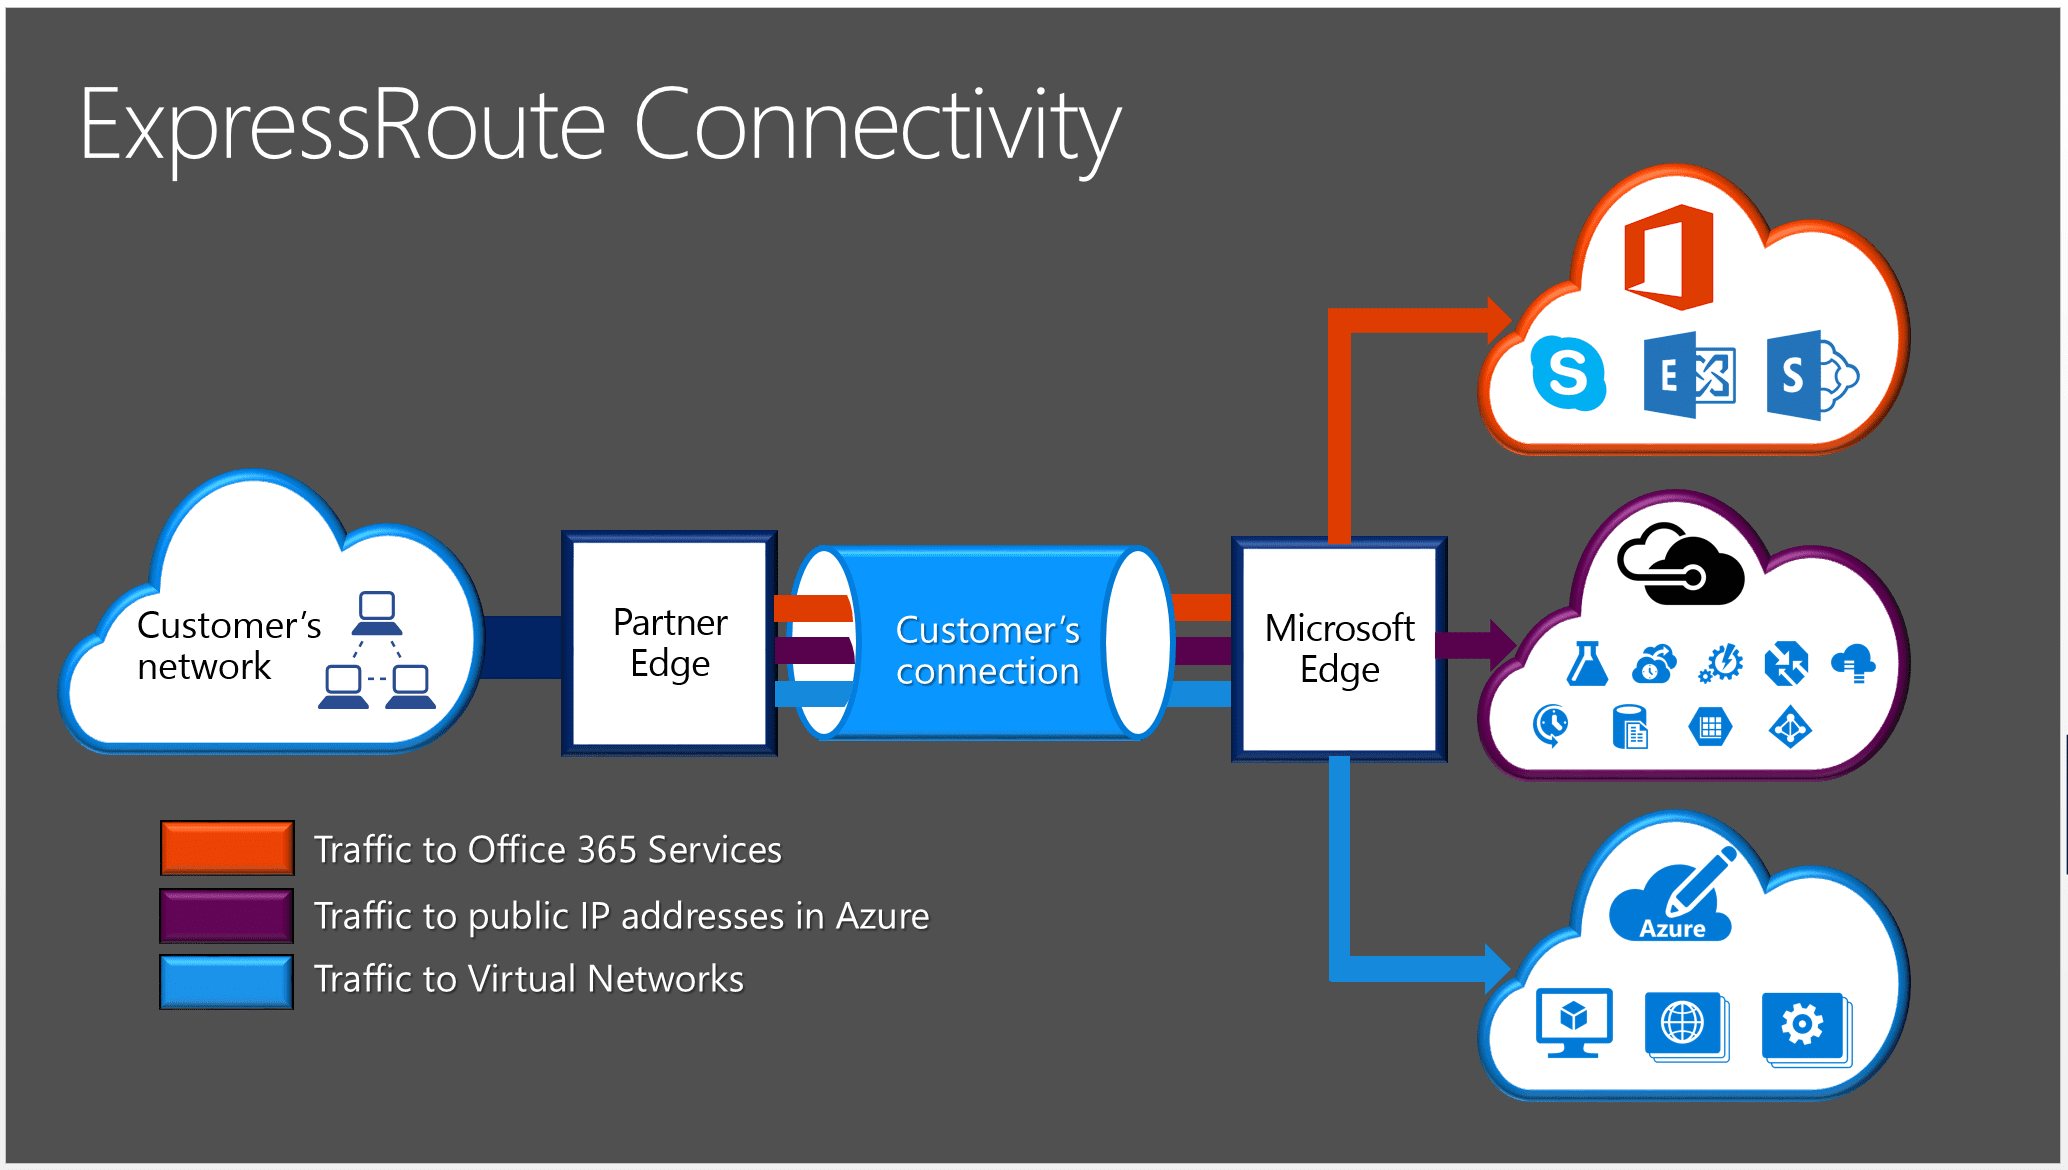
Finally, you can also extend your existing on-premises domain into Azure. Using ExpressRoute or VPN, you can connect your on-premises network to your Azure vNet and allow access to domain controllers. You can even deploy IaaS domain controllers in Azure that are joined to your on-premises domain. This then adds a dependency to your infrastructure of connectivity back to the on-premises network, so this connectivity becomes a key point of failure. You need to ensure that resiliency is built in.

Summary

If your new to Azure and especially identity in Azure, I hope clears things up. This is a new, modern authentication provider and is not Active Directory Domain Services in the cloud. AAD does not behave like the AD DS you know and love and really shouldn’t be compared to it, it is a different service.

If you need AD DS in your cloud environment, then there are options to achieve this, but AAD is not going to give you that. Take a look at the options listed in this blog post and see what meets your needs.

Until next time, Rob

MVPITPro Podcast – Ep5 – A Talk with Mike Bender from the Azure Cloud Ops Advocate Team

Join us for episode 3 of the new MVPIT Pro Podcast, featuring your hosts Andy Syrewicze from Altaro Software and myself    Jeffrey Snover @jsnover 

In this episode Andy and Rob Talk about:

  • Windows Server 2019 TP Build 17666
  • GDPR
  • Microsoft Loves Linux!
  • Steps that IT Pros can take today to become Microsoft MVPs
  • and much, much more!

Our special guest interview this episode features The one and only Jeffrey Snover, Microsoft Technical Fellow and Creator of PowerShell!

Enjoy 🙂 !!!

YouTube player

MVP ITPro Podcast – Ep3 – A Talk with PowerShell Creator Jeffrey Snover

Join us for episode 3 of the new MVPIT Pro Podcast, featuring your hosts Andy Syrewicze from Altaro Software and myself    Jeffrey Snover @jsnover 

In this episode Andy and Rob Talk about:

  • Windows Server 2019 TP Build 17666
  • GDPR
  • Microsoft Loves Linux!
  • Steps that IT Pros can take today to become Microsoft MVPs
  • and much, much more!

Our special guest interview this episode features The one and only Jeffrey Snover, Microsoft Technical Fellow and Creator of PowerShell!

Enjoy 🙂 !!!

YouTube player

Not all APIs are Created Equal – Overview – Part 1

To continue on from my last post on API’s and their Business Value I did a few years ago.  I thought I would write an updated post on API’s (Application Programmer Interfaces) do a little deep dive. APIs have had a big impact on my last role and bigger impact on my current role as a PM @ 5nine Software, and thought I would share my knowledge and research so far. APIs are not scary 🙂 Continue reading

Hyper-V Management: 9 Tips Every Hyper-V Admin Should Remember

Opinions are various and abundant on how to best configure and manage Hyper-V. Much of the advice seems to be confusing, and some if it downright contradictory. One reason for such confusion is that some articles are obviously written under the assumption that VMWare best practices apply equally well to Hyper-V. The other, more common cause of this contradictory information is that best practices for Hyper-V vary considerably, depending on whether you’re managing a Hyper-V cluster. Continue reading

Nano Server…Revealed

Nano Server

Nano Server

At Microsoft Ignite, I had a chance to meet and talk with Jeff Snover…a great honor…and his latest project “Windows Nano Server” is very cool.  Windows Nano Server is designed to be as lightweight and compact as possible. ‘Nano Server is a deeply refactoring version of Windows Server with a small footprint and remotely managed installation, optimised for the cloud and a DevOps workflow,‘ as quoted by Jeffrey Snover, Andrew Mason and Alan Back in a joint blog post. ‘It is designed for fewer patch and update events, faster restarts, better resource utilization and tighter security.

The result: as compared to the equivalent Windows Server build, Nano Server offers a 93 percent reduction in storage requirements, 92 percent fewer critical security bulletins, and 80 percent fewer reboots during operation. This is great for Security and Network Admins….I spent a lot of nights during my times as a network admin around patching and worry about what might blow up and this is a welcome change, especially for a Hyper-V environment 😉  Go Microsoft…
Nano Server
Naturally, those benefits come at a cost. ‘To achieve these benefits, we removed the GUI stack, 32 bit support (WOW64), MSI and a number of default Server Core components,‘ the team explained. ‘There is no local logon or Remote Desktop support. All management is performed remotely via WMI and PowerShell. We are also adding Windows Server Roles and Features using Features on Demand and DISM.‘ Despite this, Nano Server remains API-compatible with other Windows Server variants – meaning it should, in theory, be relatively straightforward to port applications across to the platform.

Also, It ships with the baseline version of .NET called CoreCLR, which Microsoft in recent months made open source. The OS does not contain the binaries or metadata that typically increase the footprint and developers are expected to package applications along with dependencies in a single unit of deployment.
Core PowerShell, a minimalistic version of PowerShell refactored to run on CoreCLR, provides Remote management capabilities and Nano Server can be installed on physical hardware or virtualized infrastructure.

When Windows Server starts supporting Docker, Nano Server stands to become the become the preferred OS to run containers.
Nano Server
Windows Nano Server won’t be for everyone. Microsoft has indicated that it is targeting two prime markets for the new OS: cloud applications, which includes the ability to run multiple languages and runtimes in containers, virtual machines or physical servers; and of course its own Cloud Platform infrastructure, with support for Hyper-V compute clusters and Scale-out File Server storage clusters. It’s in virtualization where the biggest benefits will be found: with each virtual machine requiring only seven percent the storage space of previous Windows Server instances and consuming considerably fewer resources while running, the overhead of running a virtualized infrastructure is considerably lessened.

Flexibility is key to delivering a modern data center, and by using the combination of Nano Server and its new container technology Microsoft is making a big shift away from its previous monolithic server model to one that’s more aligned with the way we deliver cloud-scale services. That does mean that Nano Server won’t be for everyone. Customers are going to have to have made the shift to a DevOps model, and to using cloud-scale data center infrastructure practices of which I am a big believer in and frankly why I work for Nutanix.

Microsoft has not yet offered a release date or licensing information for Windows Nano Server. Beta bits are available via MSDN on the Windows Server Technical Preview 2 media. Instructions can be found here to get started, if you want to check it out.
In conclusion, with Nano Server, Microsoft stands a chance to blow them all out the water with keeping Windows relevant in the era of linux, containers and microservices.

Until next time, Rob…