Estimated reading time: 8 minutes

Throughout my career, my primary role has always been to make things more efficient and automated. And now more than ever, automation is needed to manage and deploy IT services at scale to support our ever-changing needs.
In my opinion, one of the most convenient aspects of public cloud-based services is the ability to host virtual machines (VMs). Hosting VMs in the cloud doesn’t just mean putting your VMs in someone else’s datacenter. It’s a way to achieve a scalable, low-cost and resilient infrastructure in a matter of minutes.
What once required hardware purchases, layers of management approval and weeks of work now can be done with no hardware and in a fraction of the time. We still probably have those management layers though 🙁
Microsoft Azure is in the lead pack along with Google (GCP) and Amazon (AWS). Azure has made great strides over the past few years on in its Infrastructure as a Service (IaaS) service which allows you to host VMs in their cloud.
Azure provides a few different ways to build and deploy VMs in Azure.
- You could choose to use the Azure portal, build VMs through Azure Resource Manager(ARM) templates and some PowerShell
- Or you could simply use a set of PowerShell cmdlets to provision a VM and all its components from scratch.
Each has its advantages and drawbacks. However, the main reason to use PowerShell is for automation tasks. If you’re working on automated VM provisioning for various purposes, PowerShell is the way to go 😉

Let’s look at how we can use PowerShell to build all of the various components that a particular VM requires in Azure to eventually come up with a fully-functioning Azure VM.
To get started, you’ll first obviously need an Azure subscription. If you don’t, you can sign up for a free trial to start playing around. Once you have a subscription, I’m also going to be assuming you’re using at least Windows 10 with PowerShell version 6. Even though the commands I’ll be showing you might work fine on older versions of PowerShell, it’s always a good idea to work alongside me with the same version, if possible.
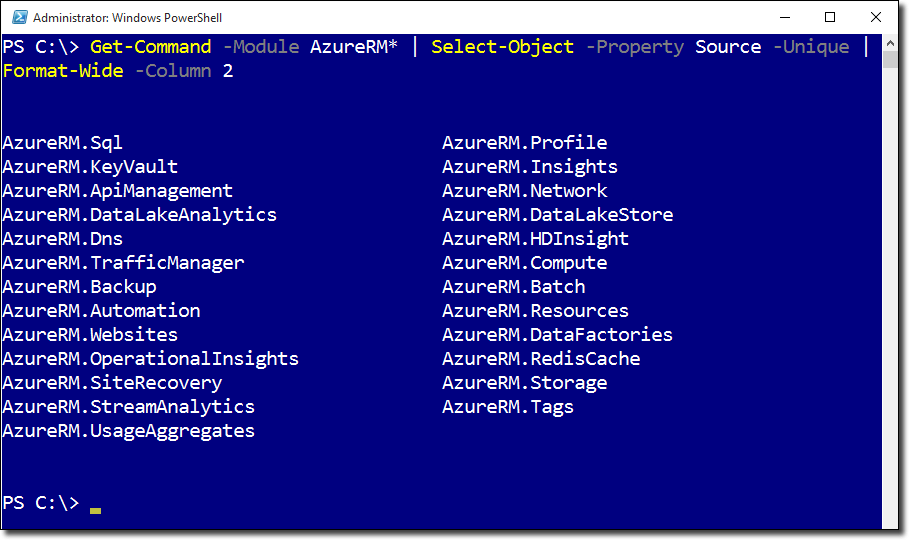
You’ll also need to have the Azure PowerShell module installed. This module contains hundreds of various cmdlets and sub-modules. The one we’ll be focusing on is called Azure.RM. This contains all of the cmdlets we’ll need to provision a VM in Azure.
Building a VM in Azure isn’t quite as simple as New-AzureVM; far from it actually. Granted, you might already have much of the underlying infrastructure required for a VM, but how do you build it out, I’ll be going over how to build every component necessary and will be assuming you’re beginning to work from a blank Azure subscription.

At its most basic, an ARM VM requires eight individual components
- A resource group
- A virtual network (VNET)
- A storage account
- A network interface with private IP on VNET
- A public IP address (if you need to access it from the Internet)
- An operating system
- An operating system disk
- The VM itself (compute)
In order to build any components between numbers 2 and 7, they must all reside in a resource group so we’ll need to build this first. We can then use it to place all the other components in. To create a resource group, we’ll use the New-AzureRmResourceGroup cmdlet. You can see below that I’m creating a resource group called NetWatchRG and placing it in the East US datacenter.
New-AzureRmResourceGroup -Name 'NetWatchRG' -Location 'East US'
Next, I’ll build the networking that is required for our VM. This requires both creating a virtual subnet and adding that to a virtual network. I’ll first build the subnet where I’ll assign my VM an IP address dynamically in the 10.0.1.0/24 network when it gets built.
$newSubnetParams = @{
'Name' = 'NetWatchSubnet'
'AddressPrefix' = '10.0.1.0/24'
}
$subnet = New-AzureRmVirtualNetworkSubnetConfig @newSubnetParams
Next, I’ll create my virtual network and place it in the resource group I just built. You’ll notice that the subnet’s network is a slice of the virtual network (my virtual network is a /16 while my subnet is a /24). This allows me to segment out my VMs
$newVNetParams = @{
'Name' = 'NetWatchNetwork'
'ResourceGroupName' = 'MyResourceGroup'
'Location' = 'West US'
'AddressPrefix' = '10.0.0.0/16'
'Subnet' = $subnet
}
$vNet = New-AzureRmVirtualNetwork @newVNetParams
Next, we’ll need somewhere to store the VM so we’ll need to build a storage account. You can see below that I’m building a storage account called NetWatchSA.
$newStorageAcctParams = @{
'Name' = 'NetWatchSA'
'ResourceGroupName' = 'NetWatchRG'
'Type' = 'Standard_LRS'
'Location' = 'East US'
}
$storageAccount = New-AzureRmStorageAccount @newStorageAcctParams
Once the storage account is built, I’ll now focus on building the public IP address. This is not required but if you’re just testing things out now it’s probably easiest to simply access your VM over the Internet rather than having to worry about setting up a VPN.
Here I’m calling it NetWatchPublicIP and I’m ensuring that it’s dynamic since I don’t care what the public IP address is. I’m using many of the same parameters as the other objects as well.
$newPublicIpParams = @{ 'Name' = 'NetWatchPublicIP' 'ResourceGroupName' = 'NetWatchRG' 'AllocationMethod' = 'Dynamic' ## Dynamic or Static 'DomainNameLabel' = 'NETWATCHVM1' 'Location' = 'East US' } $publicIp = New-AzureRmPublicIpAddress @newPublicIpParams
$newVNicParams = @{
'Name' = 'NetWatchNic1'
'ResourceGroupName' = 'NetWatchRG'
'Location' = 'East US'
'SubnetId' = $vNet.Subnets[0].Id
'PublicIpAddressId' = $publicIp.Id
}
$vNic = New-AzureRmNetworkInterface @newVNicParams
$newConfigParams = @{
'VMName' = 'NETWATCHVM1'
'VMSize' = 'Standard_A3'
}
$vmConfig = New-AzureRmVMConfig @newConfigParams
$newVmOsParams = @{
'Windows' = $true
'ComputerName' = 'NETWATCHVM1'
'Credential' = (Get-Credential -Message 'Type the name and password of the local administrator account.')
'ProvisionVMAgent' = $true
'EnableAutoUpdate' = $true
}
$vm = Set-AzureRmVMOperatingSystem @newVmOsParams -VM $vmConfig
$newSourceImageParams = @{
'PublisherName' = 'MicrosoftWindowsServer'
'Version' = 'latest'
'Skus' = '2016-Datacenter'
'VM' = $vm
}$offer = Get-AzureRmVMImageOffer -Location 'East US' -PublisherName 'MicrosoftWindowsServer'
$vm = Set-AzureRmVMSourceImage @newSourceImageParams -Offer $offer.Offer
$vm = Add-AzureRmVMNetworkInterface -VM $vm -Id $vNic.Id
$osDiskUri = $storageAcct.PrimaryEndpoints.Blob.ToString() + "vhds/" + $vmName + $osDiskName + ".vhd"
$newOsDiskParams = @{
'Name' = 'OSDisk'
'CreateOption' = 'fromImage'
'VM' = $vm
'VhdUri' = $osDiskUri
}
$vm = Set-AzureRmVMOSDisk @newOsDiskParams
$newVmParams = @{
'ResourceGroupName' = 'NetWatchRG'
'Location' = 'East US'
'VM' = $vm
}
New-AzureRmVM @newVmParams
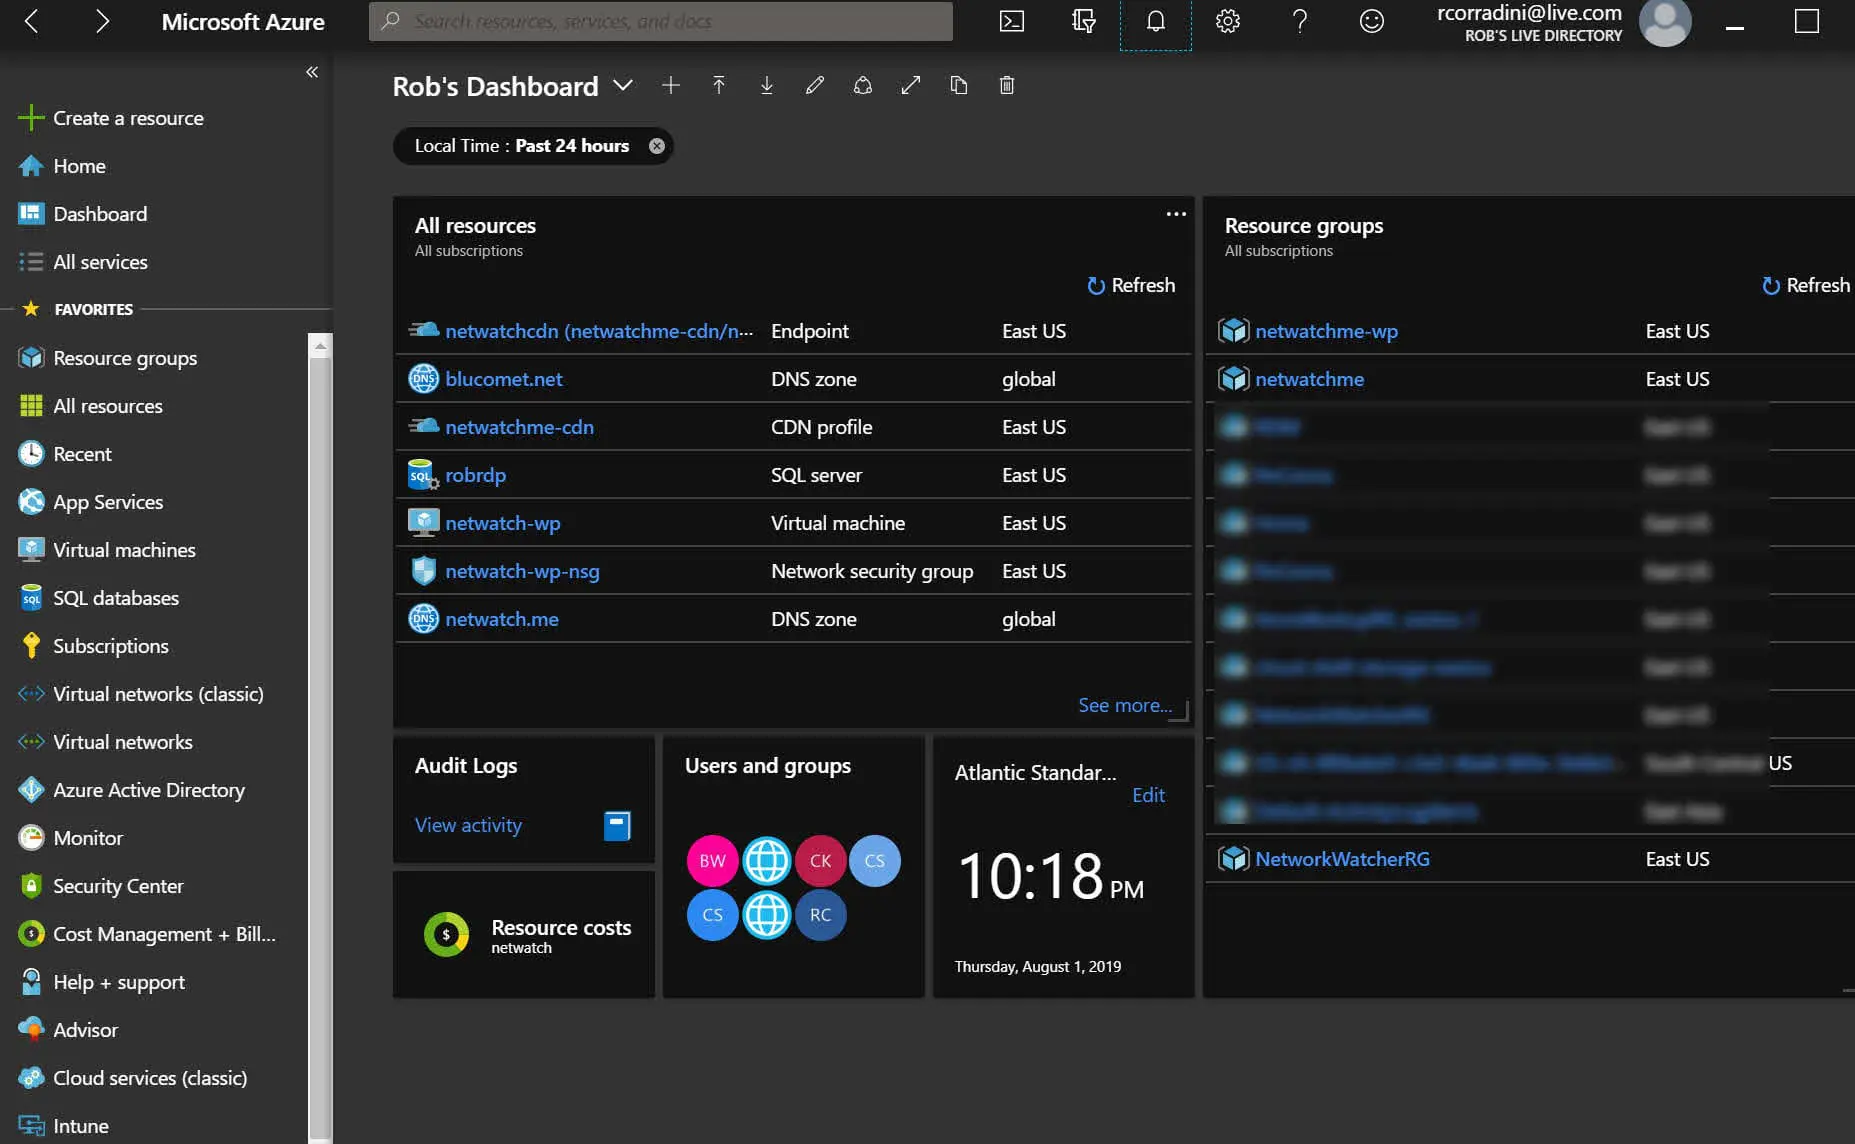
Your VM should now be showing up under the Virtual Machines section in the Azure portal. If you’d like to check on the VM from PowerShell you can also use the Get-AzureRmVM cmdlet.
Now that you’ve got all the basic code required to build a VM in Azure, I suggest you go and build a PowerShell script from this tutorial. Once you’re able to bring this code together into a script, building your second, third or tenth VM will be a breeze!
One final tip, in addition to managing Azure Portal through a browser, there are mobile apps for IOS and Android and now the new Azure portal app (Currently in Preview). It gives you the same experience as the Azure Portal, without the need of a browser, like Microsoft Edge or Google Chrome. Great for environments that have restrictions on browsing.

Until next time, Rob…
